해당 시리즈는 제목 그대로 김민준님의 '리액트를 다루는 기술'을 요약한 글입니다.
목차
14장 외부 API를 연동하여 뉴스 뷰어 만들기
14장 외부 API를 연동하여 뉴스 뷰어 만들기
흐름
- 비동기 작업의 이해 (생략)
- axios로 API 호출해서 데이터 받아오기
- newsapi API 키 발급받기
- 뉴스 뷰어 UI 만들기
- 데이터 연동하기
- 카테고리 기능 구현하기
- 리액트 라우터 적용하기
14.2 axios로 API 호출해서 데이터 받아 오기
axios는 현재 가장 많이 사용되고 있는 자바스크립트 HTTP 클라이언트입니다. 이 라이브러리의 특징은 HTTP 요청을 Promise 기반으로 처리한다는 점입니다.
async, await을 사용하지 않았을 때
import React, { useState } from 'react';
import axios from 'axios';

function App() {
  const [data, setData] = useState(null);
  const onClick = () => {
    axios
      .get('https://jsonplaceholder.typicode.com/todos/10')
      .then((response) => {
        setData(response.data);
      });
  };
  return (
    <div>
      <div>
        <button onClick={onClick}>불러오기</button>
      </div>
      {data && (
        <textarea rows={7} value={JSON.stringify(data, null, 2)} readOnly />
      )}
    </div>
  );
}

export default App;
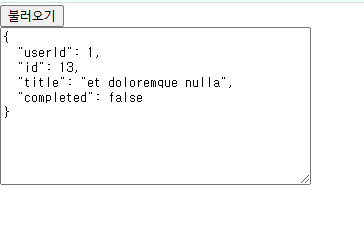
async, await을 사용했을 때
import React, { useState } from 'react';
import axios from 'axios';

function App() {
  const [data, setData] = useState(null);
  const onClick = async () => {
    try {
      const response = await axios.get(
        'https://jsonplaceholder.typicode.com/todos/13',
      );
      setData(response.data);
    } catch (error) {
      console.log(error);
    }
  };
  return (
    <div>
      <div>
        <button onClick={onClick}>불러오기</button>
      </div>
      {data && (
        <textarea rows={7} value={JSON.stringify(data, null, 2)} readOnly />
      )}
    </div>
  );
}

export default App;
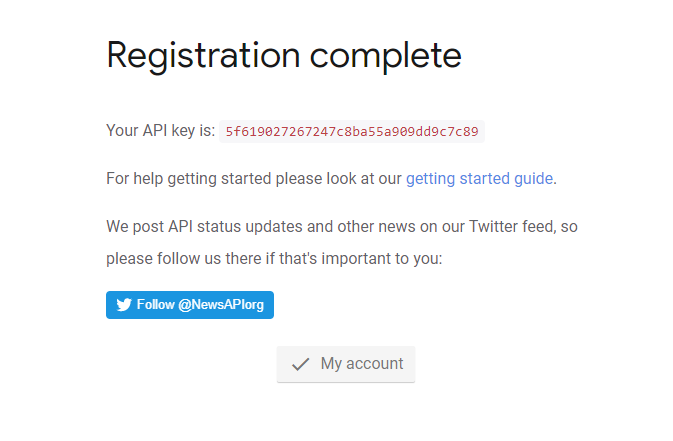
14.3 newsapi API 키 발급받기
News API – Search News and Blog Articles on the Web
Get JSON search results for global news articles in real-time with our free News API.
newsapi.org
위에서 키 발급받기
https://newsapi.org/s/south-korea-news-api
News API – Search News and Blog Articles on the Web
Get JSON search results for global news articles in real-time with our free News API.
newsapi.org
위에서 사용방법을 알 수 있음.
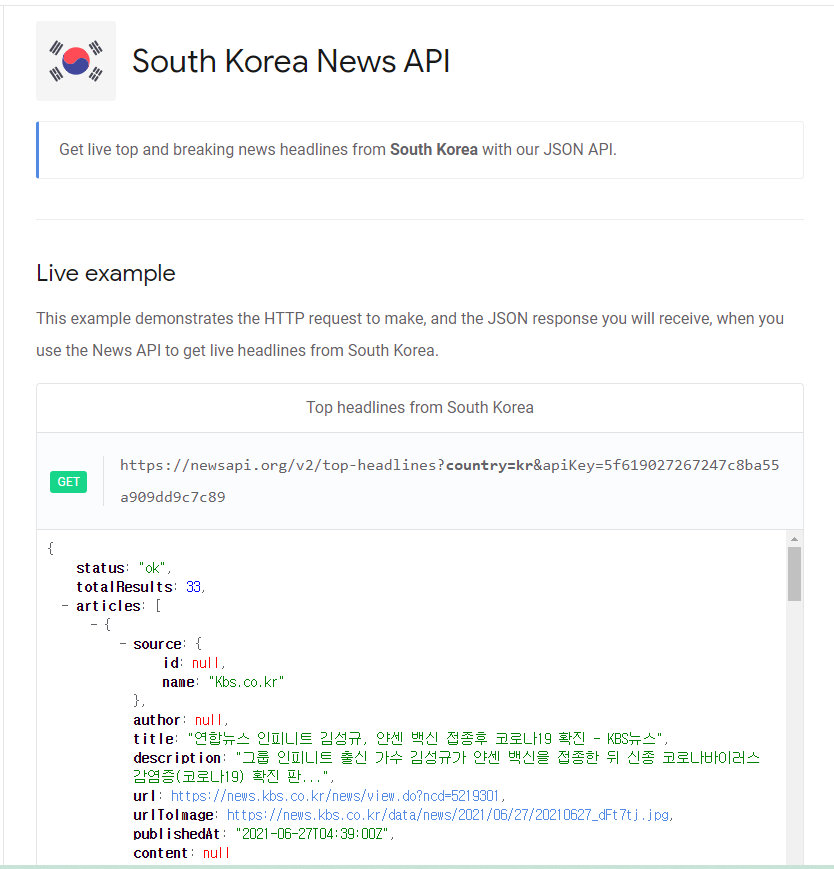
전체 뉴스 불러오기
https://newsapi.org/v2/top-headlines?country=kr&apiKey=5f619027267247c8ba55a909dd9c7c89
특정 카테고리 뉴스 불러오기
https://newsapi.org/v2/top-headlines?country=kr&category=business&apiKey=5f619027267247c8ba55a909dd9c7c89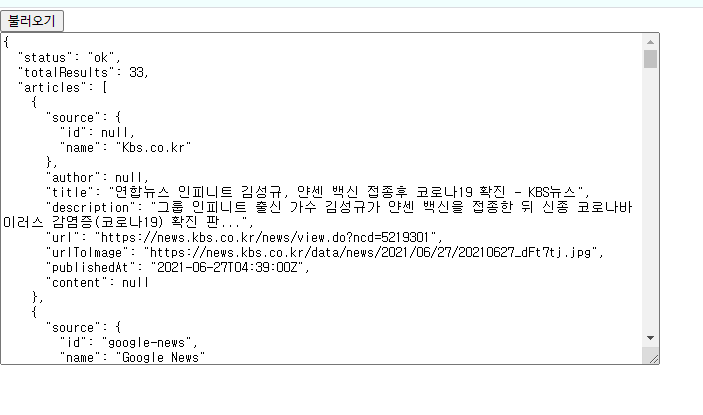
14.4 뉴스 뷰어 UI 만들기
yarn add styled-components
14.4.1 NewsItem 만들기
import React from 'react';
import styled from 'styled-components';

const NewsItemBlock = styled.div`
  display: flex;
  .thumbnail {
    margin-right: 1rem;
    img {
      display: block;
      width: 160px;
      height: 100px;
      object-fit: cover;
    }
  }
  .contents {
    h2 {
      margin: 0;
      a {
        color: black;
      }
    }
    p {
      margin: 0;
      line-height: 1.5;
      margin-top: 0.5rem;
      white-space: normal;
    }
  }
  & + & {
    margin-top: 3rem;
  }
`;

const NewsItem = ({ article }) => {
  const { title, description, url, urlToImage } = article;
  return (
    <NewsItemBlock>
      {urlToImage && (
        <div className="thumbnail">
          <a href={url} target="_blank" rel="noopener noreferrer">
            <img src={urlToImage} alt="thumbnail" />
          </a>
        </div>
      )}
      <div className="contents">
        <h2>
          <a href={url} target="_blank" rel="noopener noreferrer">
            {title}
          </a>
        </h2>
        <p>{description}</p>
      </div>
    </NewsItemBlock>
  );
};

export default NewsItem;
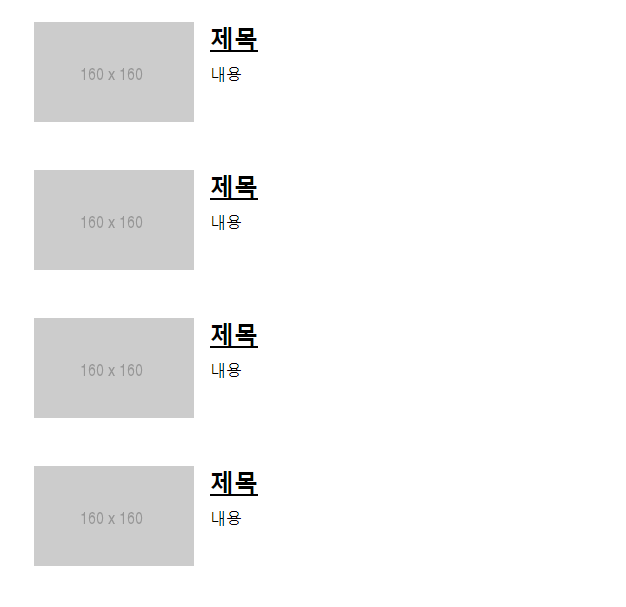
14.4.2 NewsList 만들기
import React from 'react';
import styled from 'styled-components';
import NewsItem from './NewsItem';

const NewsListBlock = styled.div`
  box-sizing: border-box;
  padding-bottom: 3rem;
  width: 768px;
  margin: 0 auto;
  margin-top: 2rem;
  @media screen and (max-width: 768px) {
    width: 100%;
    padding: 0 1rem;
  }
`;

const sampleArticle = {
  title: '제목',
  description: '내용',
  url: 'https://google.com',
  urlToImage: 'https://via.placeholder.com/160',
};

const NewsList = () => {
  return (
    <NewsListBlock>
      <NewsItem article={sampleArticle} />
      <NewsItem article={sampleArticle} />
      <NewsItem article={sampleArticle} />
      <NewsItem article={sampleArticle} />
    </NewsListBlock>
  );
};

export default NewsList;
14.5 데이터 연동하기
useEffect를 사용하여 컴포넌트가 화면에 보이는 시점에 API 요청을 해봅시다. 여기서 주의할 점은 useEffect에서 반환해야 하는 값은 뒷정리 함수이기 때문에 useEffect에 등록하는 함수에는 async를 붙이면 안 된다는 것입니다. 따라서 useEffect 내부에서 async/await를 사용하고 싶다면, 함수 내부에 async 키워드가 붙은 또 다른 함수를 만들어서 사용해야 합니다.
import React, { useEffect, useState } from 'react';
import styled from 'styled-components';
import NewsItem from './NewsItem';
import axios from 'axios';

const NewsListBlock = styled.div`
  box-sizing: border-box;
  padding-bottom: 3rem;
  width: 768px;
  margin: 0 auto;
  margin-top: 2rem;
  @media screen and (max-width: 768px) {
    width: 100%;
    padding: 0 1rem;
  }
`;

const NewsList = () => {
  const [articles, setArticles] = useState(null);
  const [loading, setLoading] = useState(false);

  useEffect(() => {
    const fetchData = async () => {
      setLoading(true);
      try {
        const response = await axios.get(
          'https://newsapi.org/v2/top-headlines?country=kr&apiKey=5f619027267247c8ba55a909dd9c7c89',
        );
        setArticles(response.data.articles);
      } catch (error) {
        console.log(error);
      }
      setLoading(false);
    };
    fetchData();
  }, []);

  if (loading) {
    return <NewsListBlock>대기 중...</NewsListBlock>;
  }

  if (!articles) {
    return null;
  }

  return (
    <NewsListBlock>
      {articles.map((article) => (
        <NewsItem key={article.url} article={article} />
      ))}
    </NewsListBlock>
  );
};

export default NewsList;

14.6 카테고리 기능 구현하기
14.6.1 카테고리 선택 UI 만들기
import React from 'react';
import styled from 'styled-components';

const categories = [
  {
    name: 'all',
    text: '전체보기',
  },
  {
    name: 'business',
    text: '비즈니스',
  },
  {
    name: 'entertainment',
    text: '엔터테인먼트',
  },
  {
    name: 'health',
    text: '건강',
  },
  {
    name: 'science',
    text: '과학',
  },
  {
    name: 'sports',
    text: '스포츠',
  },
  {
    name: 'technology',
    text: '기술',
  },
];

const CategoriesBlock = styled.div`
  display: flex;
  padding: 1rem;
  width: 768px;
  margin: 0 auto;
  @media screen and (max-width: 768px) {
    width: 100%;
    overflow-x: auto;
  }
`;

const Category = styled.div`
  font-size: 1.125rem;
  cursor: pointer;
  white-space: pre;
  text-decoration: none;
  color: inherit;
  padding-bottom: 0.25rem;

  &:hover {
    color: #495057;
  }

  & + & {
    margin-left: 1rem;
  }
`;

const Categories = () => {
  return (
    <CategoriesBlock>
      {categories.map((c) => (
        <Category key={c.name}>{c.text}</Category>
      ))}
    </CategoriesBlock>
  );
};

export default Categories;

import React, { useCallback, useState } from 'react';
import NewsList from './components/NewsList';
import Categories from './components/Categories';

function App() {
  const [category, setCategory] = useState('all');
  const onSelect = useCallback((category) => setCategory(category), []);
  return (
    <>
      <Categories category={category} onSelect={onSelect} />
      <NewsList category={category} />
    </>
  );
}

export default App;
import React from 'react';
import styled, { css } from 'styled-components';
import oc from 'open-color';

const categories = [
	(...)
];

const CategoriesBlock = styled.div`
	(...)
`;

const Category = styled.div`
  font-size: 1.125rem;
  cursor: pointer;
  white-space: pre;
  text-decoration: none;
  color: inherit;
  padding-bottom: 0.25rem;

  &:hover {
    color: ${oc.blue[4]};
  }

  ${(props) =>
    props.active &&
    css`
      font-weight: 600;
      border-bottom: 2px solid ${oc.blue[4]};
      color: ${oc.blue[4]};
    `}

  & + & {
    margin-left: 1rem;
  }
`;

const Categories = ({ category, onSelect }) => {
  return (
    <CategoriesBlock>
      {categories.map((c) => (
        <Category
          key={c.name}
          active={category === c.name}
          onClick={() => onSelect(c.name)}
        >
          {c.text}
        </Category>
      ))}
    </CategoriesBlock>
  );
};

export default Categories;

14.6.2 API를 호출할 때 카테고리 지정하기
import React, { useEffect, useState } from 'react';
import styled from 'styled-components';
import NewsItem from './NewsItem';
import axios from 'axios';

const NewsListBlock = styled.div`
  (...)
`;

const NewsList = ({ category }) => {
  const [articles, setArticles] = useState(null);
  const [loading, setLoading] = useState(false);

  useEffect(() => {
    const fetchData = async () => {
      setLoading(true);
      try {
        const query = category === 'all' ? '' : `&category=${category}`;
        const response = await axios.get(
          `https://newsapi.org/v2/top-headlines?country=kr${query}&apiKey=5f619027267247c8ba55a909dd9c7c89`,
        );
        setArticles(response.data.articles);
      } catch (error) {
        console.log(error);
      }
      setLoading(false);
    };
    fetchData();
  }, [category]);

  if (loading) {
    return <NewsListBlock>대기 중...</NewsListBlock>;
  }

  if (!articles) {
    return null;
  }

  return (
    <NewsListBlock>
      {articles.map((article) => (
        <NewsItem key={article.url} article={article} />
      ))}
    </NewsListBlock>
  );
};

export default NewsList;
14.7 리액트 라우터 적용하기
yarn add react-router-dom
import React from 'react';
import ReactDOM from 'react-dom';
import './index.css';
import App from './App';
import { BrowserRouter } from 'react-router-dom';

ReactDOM.render(
  <BrowserRouter>
    <App />
  </BrowserRouter>
  document.getElementById('root'),
);
import React from 'react';
import Categories from '../components/Categories';
import NewsList from '../components/NewsList';
const NewsPage = ({ match }) => {
const category = match.params.category || 'all';
return (
<>
<Categories />
<NewsList category={category} />
</>
);
};
export default NewsPage;
import React from 'react';
import { Route } from 'react-router-dom';
import NewsPage from './pages/NewsPage';

function App() {
  return <Route path="/:category?" component={NewsPage} />;
}

export default App;
위 코드에서 사용된 path에 /:category?와 같이 맨 뒤에 물음표를 붙이면 선택적이라는 의미입니다. 즉, 있을 수도 있고 없을 수도 있다는 뜻입니다. 따라서 category URL 파라미터가 없다면(match.params에 undefined 전달) 전체 카테고리를 선택한 것으로 간주합니다.
import React from 'react';
import styled from 'styled-components';
import oc from 'open-color';
import { NavLink } from 'react-router-dom';

const categories = [
  (...)
];

const CategoriesBlock = styled.div`
  (...)
`;

const Category = styled(NavLink)`
  font-size: 1.125rem;
  cursor: pointer;
  white-space: pre;
  text-decoration: none;
  color: inherit;
  padding-bottom: 0.25rem;

  &:hover {
    color: ${oc.blue[4]};
  }

  &.active {
    font-weight: 600;
    border-bottom: 2px solid ${oc.blue[4]};
    color: ${oc.blue[4]};
  }

  & + & {
    margin-left: 1rem;
  }
`;

const Categories = () => {
  return (
    <CategoriesBlock>
      {categories.map((c) => (
        <Category
          key={c.name}
          activeClassName="active"
          exact={c.name === 'all'}
          to={c.name === 'all' ? '/' : `/${c.name}`}
        >
          {c.text}
        </Category>
      ))}
    </CategoriesBlock>
  );
};

export default Categories;
to 값이 "/"를 가리키고 있을 때 exact값을 true로 해주지 않으면 다른 카테고리가 선택되었을 때도 전체보기 링크에서 active 스타일이 적용됨.
14.8 usePromise 커스텀 Hook 만들기
import { useState, useEffect } from 'react';

export default function usePromise(promiseCreator, deps) {
  const [loading, setLoading] = useState(false);
  const [resolved, setResolved] = useState(null);
  const [error, setError] = useState(null);

  useEffect(() => {
    const process = async () => {
      setLoading(true);
      try {
        const resolved = await promiseCreator();
        setResolved(resolved);
      } catch (error) {
        setError(error);
      }
      setLoading(false);
    };
    process();
  }, deps);

  return [loading, resolved, error];
}
import React from 'react';
import styled from 'styled-components';
import NewsItem from './NewsItem';
import axios from 'axios';
import usePromise from '../lib/usePromise';

const NewsListBlock = styled.div`
  ( ... )
`;

const NewsList = ({ category }) => {
  const [loading, response, error] = usePromise(() => {
    const query = category === 'all' ? '' : `&category=${category}`;
    return axios.get(
      `https://newsapi.org/v2/top-headlines?country=kr${query}&apiKey=5f619027267247c8ba55a909dd9c7c89`,
    );
  }, [category]);

  if (loading) {
    return <NewsListBlock>대기 중...</NewsListBlock>;
  }

  if (!response) {
    return null;
  }

  if (error) {
    return <NewsListBlock>에러 발생!</NewsListBlock>;
  }

  const { articles } = response.data;

  return (
    <NewsListBlock>
      {articles.map((article) => (
        <NewsItem key={article.url} article={article} />
      ))}
    </NewsListBlock>
  );
};

export default NewsList;
usePromise를 사용하면 NewsList에서 대기 중 상태 관리와 useEffect 설정을 직접 하지 않아도 되므로 코드가 훨씬 간결해집니다. 요청 상태를 관리할 때 무조건 커스텀 Hook을 만들어서 사용해야 하는 것은 아니지만, 상항에 따라 적절히 사용하면 좋은 코드를 만들어 갈 수 있습니다.
정리
리액트 컴포넌트에서 API를 연동하여 개발할 때 절대 잊지 말아야 할 유의 사항은 useEffect에 등록하는 함수는 async로 작성하면 안 된다는 점입니다. 그 대신 함수 내부에 async 함수를 따로 만들어 주어야 합니다.
'WEB🔨 > React' 카테고리의 다른 글
| 리액트를 다루는 기술 요약#10 (0) | 2021.06.28 |
|---|---|
| 리액트를 다루는 기술 요약#9 (0) | 2021.06.27 |
| 리액트를 다루는 기술 요약#7 (2) | 2021.06.26 |
| 리액트를 다루는 기술 요약#6 (0) | 2021.06.25 |
| 리액트를 다루는 기술 요약#5 (0) | 2021.06.24 |